Category: Food

How to create stunning grazing boards.

How to Create a Stunning Grazing Board

Honestly, if I see one more photo of a “luxury” charcuterie spread that looks more like a piece of expensive modern art than actual food, I might just lose it. We’ve all seen them—those hyper-stylized, over-engineered grazing boards that require a professional tweezers kit and a massive budget just to assemble. It feels so performative, doesn’t it? Like you’re spending your entire party hovering over a wooden slab, worrying about the exact angle of a rosemary sprig, instead of actually connecting with the people in your living room. To me, that’s not hosting; that’s just unpaid labor.

I’m here to tell you that you can skip the stress and the designer price tags without sacrificing the vibe. In this guide, I’m sharing my real-world, no-nonsense approach to building grazing boards that actually taste good and, more importantly, feel easy. I’ll show you how to use what you already have in your pantry and a few thrifted bowls to create a spread that invites people to dig in, linger, and stay for a second glass of wine. Let’s get back to the heart of hosting.

Table of Contents

Artisan Meat and Cheese Selection Without the Stress

Artisan Meat and Cheese Selection Without the Stress

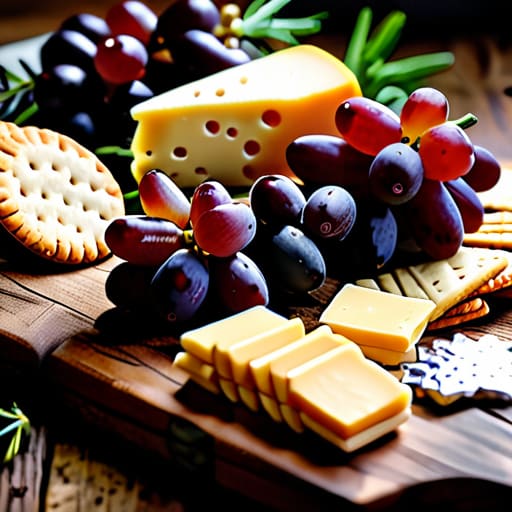
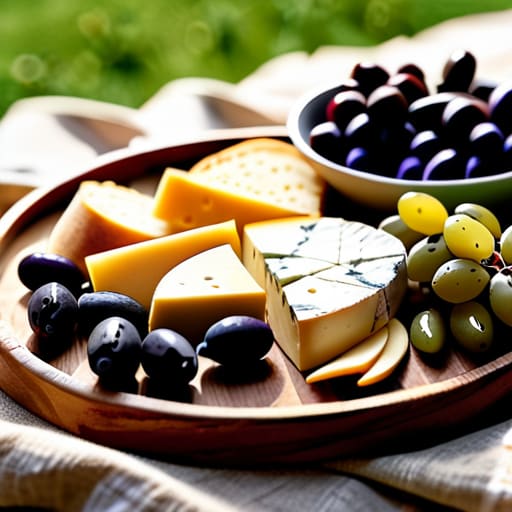
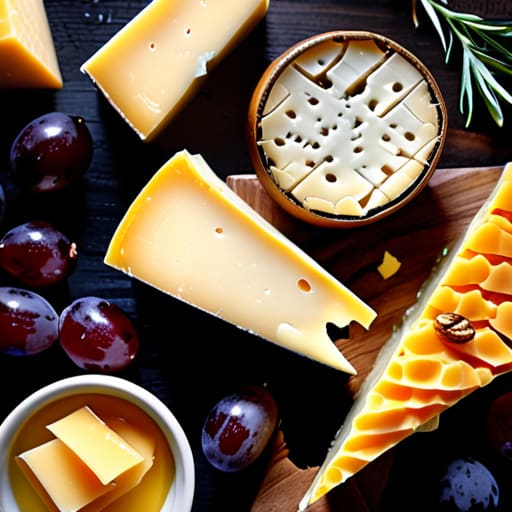
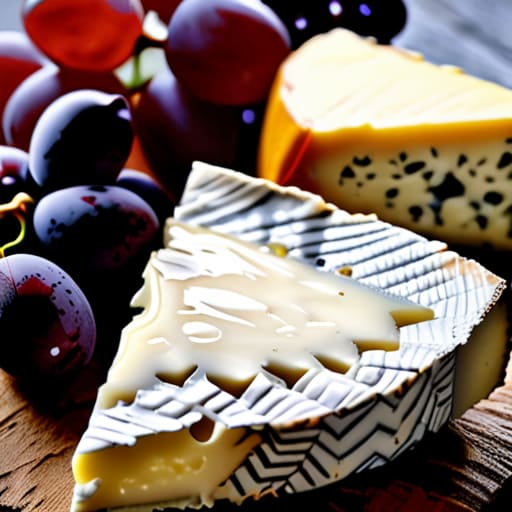
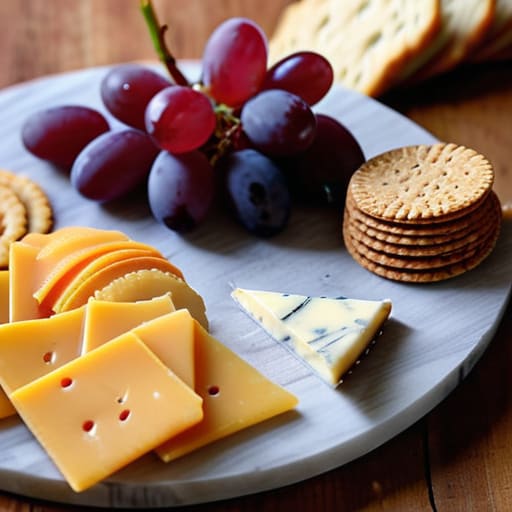
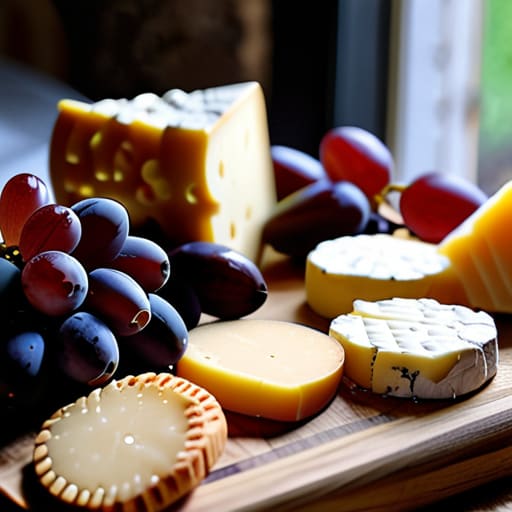
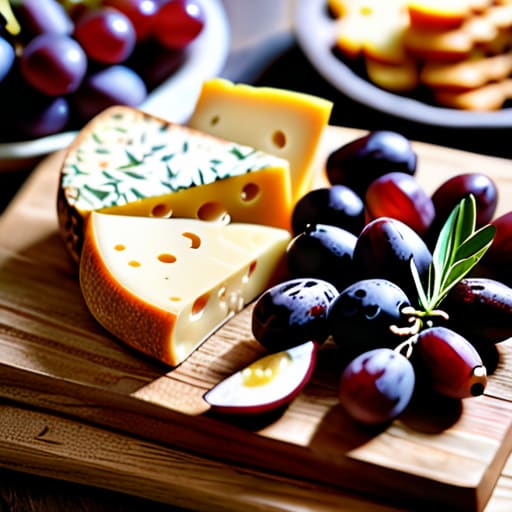
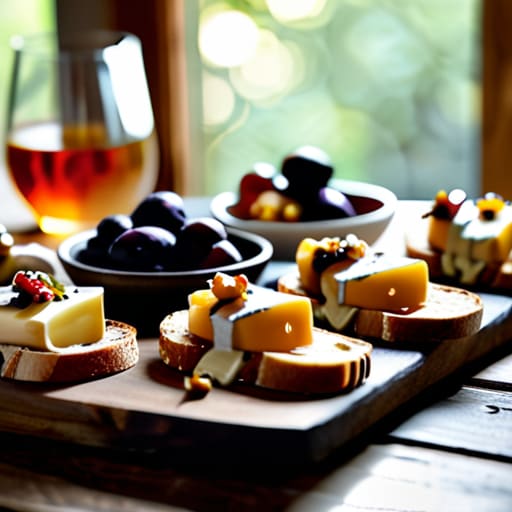
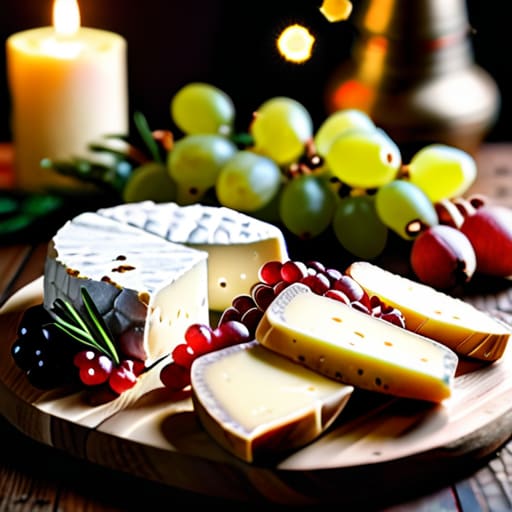
Now, let’s talk about the heavy hitters: the meats and cheeses. I know, I know—walking down the deli aisle can feel incredibly overwhelming when you’re staring at twenty different types of salami and a wall of brie. But here is my secret: don’t overthink it. You don’t need to source rare, cave-aged cheeses from a tiny mountain village to make this work. When I’m putting together an artisan meat and cheese selection for a client, I always aim for a mix of textures and “vibes.” Think one hard cheese like a sharp cheddar, one soft one like a creamy goat cheese, and maybe something funky like a blue.

For the meats, I love a good variety of folds and shapes. Instead of just laying slices flat, try ribboning your prosciutto or folding your salami into little little bundles; it adds so much dimension to your party food presentation ideas without costing an extra cent. Just remember to balance the saltiness of the meats with something mild in the cheese category so your guests aren’t reaching for water every two minutes!

Savory Snack Platter Components for Real Connection

Savory Snack Platter Components for Real Connection

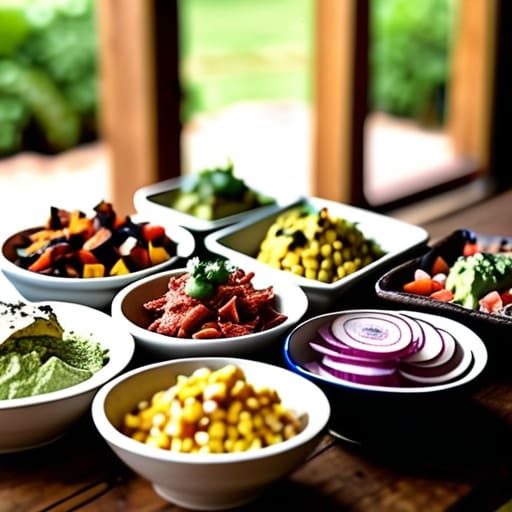
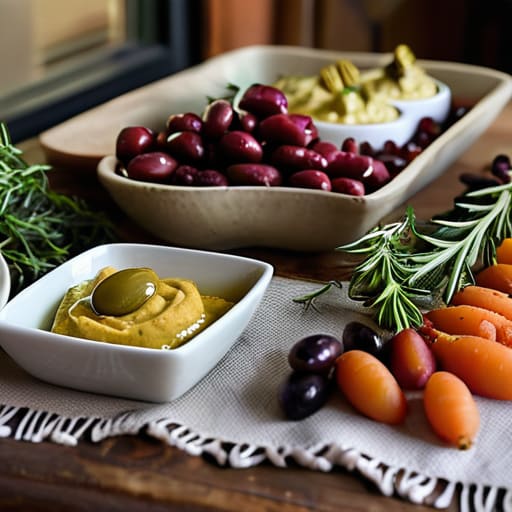
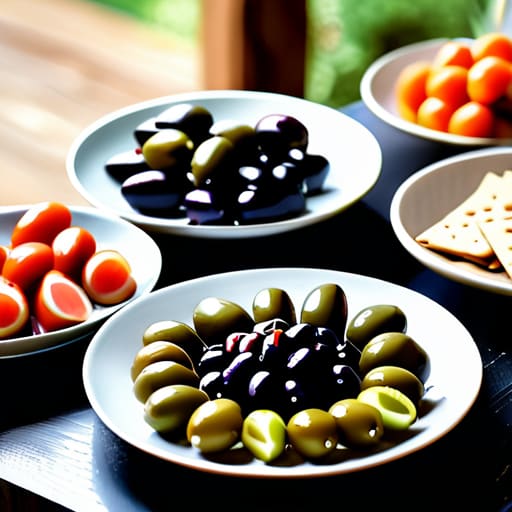
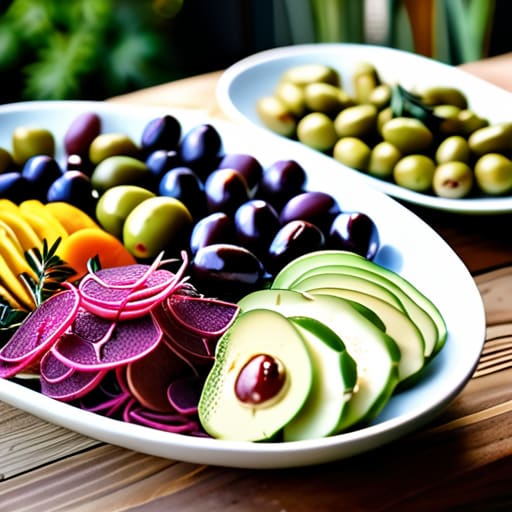
Once you’ve got your meats and cheeses sorted, it’s time to think about the little things that actually fill the gaps and keep people nibbling. I’m a huge fan of adding texture and salt to the mix. Think about salty olives, crunchy Marcona almonds, or even some quick-pickled veggies to cut through all that richness. These savory snack platter components aren’t just filler; they’re the little bites that people end up hovering over while they’re deep in a conversation.

I also love playing with different “vibe” elements to keep things interesting. If you’re feeling a bit more rustic, maybe toss on some dried apricots or figs. If you want something a bit more substantial, a handful of rosemary-salted crackers or some toasted sourdough slices can make the spread feel much more like a meal. My best party food presentation ideas usually involve just piling things in small, mismatched bowls I’ve found at thrift stores. It keeps the look relaxed and prevents the whole setup from feeling too precious or stiff.

Five Little Tricks to Make Your Board Look (and Feel) Like a Dream

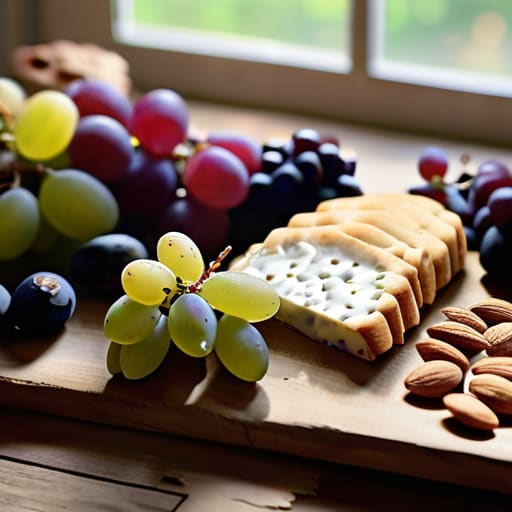
  • Don’t be afraid of a little “clutter.” The secret to that lush, effortless look is filling in every single tiny gap with something small—think a handful of loose grapes, some almonds, or even a few sprigs of fresh rosemary. If you can see the bottom of the board, just add more snacks!
  • Mix up your textures so people actually want to keep nibbling. You want that perfect balance of something crunchy (like those sea salt crackers I love), something creamy (a soft brie is a lifesaver), and something juicy (fresh figs or sliced pears) to cleanse the palate.
  • Think about color, but keep it natural. I always try to scatter a few pops of red or deep purple through the spread—maybe some pomegranate seeds or dried cranberries—just so it doesn’t look like one big, beige blob of food. It makes the whole thing look so much more intentional.
  • Use what you already have in your kitchen. You don’t need a set of matching ceramic ramekins; I love using mismatched vintage bowls I’ve found at thrift stores for the olives or honey. It adds so much character and keeps things feeling cozy rather than stiff.
  • Prep your components ahead of time so you aren’t stuck in the kitchen all night. Slice your cheeses and wash your fruit an hour before guests arrive, then just do the final “assembly” once you’ve poured yourself a glass of wine. You want to be part of the conversation, not the person hovering over a cutting board!

My Golden Rules for a Stress-Free Spread

Don’t get caught up in perfection; a little bit of overlap and a few crumbs actually make the board look more inviting and lived-in.

Focus on variety over volume—it’s much better to have three really good cheeses than a mountain of mediocre stuff that nobody actually wants to eat.

Keep the flow in mind by placing the most popular items, like crackers or grapes, in spots that are easy for guests to reach without awkward stretching.

The Magic in the Mess

“At the end of the day, I don’t care if the brie is perfectly sliced or if the grapes are arranged in a neat little line; I just want to see a board that looks lived-in, where people feel comfortable grabbing a handful of olives and actually leaning in to hear a good story.”

Saoirse Mullan

Bringing It All Together
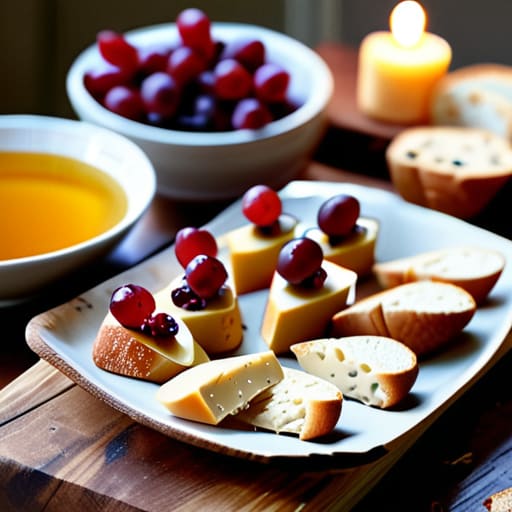
Bringing It All Together: Grazing board assembly.

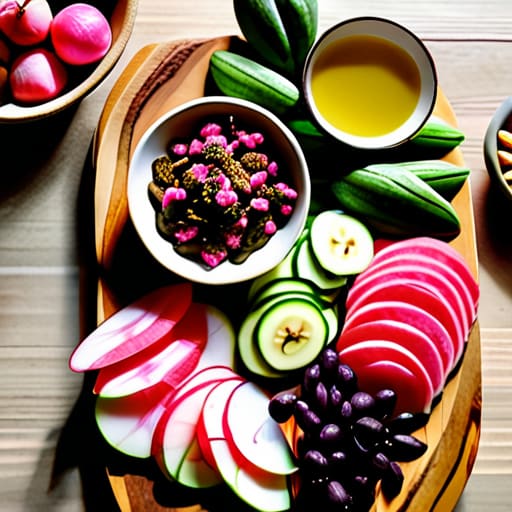
At the end of the day, building a grazing board doesn’t require a culinary degree or a massive budget. Once you’ve picked out some lovely cheeses, layered in your savory snacks, and added those little touches of crunch and sweetness, you’re basically ready to go. Just remember that it’s all about the flow of the board—don’t worry if it looks a little messy or if the crackers aren’t perfectly aligned. The goal isn’t a museum exhibit; it’s a delicious, accessible spread that invites people to linger. If you find yourself running low on space, just grab another wooden board or even a few of those vintage mismatched plates I love so much to keep the variety going.

More than anything, I want you to remember that your guests are coming to see you, not to judge your plating skills. A grazing board is just a tool to help break the ice and get the conversation flowing. When the lights are low, the wine is poured, and everyone is happily picking at a piece of brie, that’s when the real magic happens. So, stop stressing over the perfect arrangement, grab a roll of tape if a garnish needs securing, and just focus on the connection. You’ve got this, and your friends are going to love it simply because you hosted them.

Frequently Asked Questions

How do I keep everything looking fresh and not all wilted if the party lasts a few hours?

Honestly, this is the question I get most often! My biggest tip? Don’t put everything out at once. I like to prep the “base” layers—like the nuts, dried fruits, and hard cheeses—well in advance, but I wait until guests actually arrive to add the delicate stuff like sliced berries or soft cheeses. If you’re using grapes or herbs for decor, keep them in a small bowl of ice water until the very last second.

Do I really need those expensive specialty cheeses, or can I just use what's in my fridge?

Oh, absolutely not! Please, don’t feel like you have to drop a fortune at a high-end deli just to host a nice night. Honestly, some of my favorite boards are built from what’s already in the fridge. A good block of sharp cheddar, some creamy brie, or even those nice crackers you picked up last week work perfectly. It’s all about the variety and how you arrange it—not the price tag on the label.

What's the best way to arrange everything so it looks "effortless" rather than just a messy pile of food?

The secret to that “effortless” look is all about layering and movement. Don’t try to make it symmetrical—that feels too stiff. Instead, start by placing your bowls or small ramekins first to create “anchors,” then weave your cheeses and meats around them. Fill the gaps with smaller bits like nuts or dried fruit so no wood is peeking through. It’s not a mess if there’s a flow; it’s just abundance!

Authentic tapas recipes for sharing with guests.

Authentic Tapas Recipes for Sharing With Guests

Honestly, I used to think that hosting a dinner party meant I had to spend the entire evening hunched over a hot stove, plating individual portions like some frantic Michelin-star chef. It’s so easy to get caught up in the stress of “perfect” hosting that we forget the whole point is to actually hang out with our favorite people. If you’re looking for a way to feed a crowd without losing your sanity, leaning into easy, sharable tapas recipes is my absolute favorite secret weapon. It shifts the focus away from a formal, stiff dining setup and moves it toward something much more relaxed and communal.

In this post, I’m sharing five of my go-to bites that are as much about the vibe as they are about the flavor. These aren’t just random snacks; they are my personal favorites for creating a space where everyone feels instantly at home. I’ll walk you through dishes that are simple enough to prep ahead of time, so you can actually spend your evening holding a glass of wine and catching up, rather than hovering over the oven. Let’s get into it!

Table of Contents

The Ultimate Garlic Gambas

The Ultimate Garlic Gambas in olive oil.

If there is one dish that makes me feel like I’m sitting in a sun-drenched patio in Spain, it’s Gambas al Ajillo. It’s honestly such a lifesaver when you’re hosting because it only takes about five minutes to whip up in a pan. You just need some high-quality olive oil, a generous amount of sliced garlic, and some juicy shrimp. I always tell my clients that the secret is not to skimp on the oil; you want that liquid gold pooling at the bottom of the dish.

Crispy Manchego and Honey Bites

Crispy Manchego and Honey Bites on plate.

For those moments when you want something that feels a little more “styled” but still takes zero effort, I swear by melted Manchego. I love taking thin slices of this Spanish cheese, letting them get just slightly soft in a pan, and then topping them with a drizzle of wildflower honey. It sounds fancy, but it’s really just about playing with those sweet and salty flavors that everyone craves.

Warm Olives with Citrus and Herbs

Warm Olives with Citrus and Herbs.

I know, I know—olives might seem like the “lazy” option, but hear me out. If you take a jar of good olives and warm them up in a small pot with orange zest, a sprig of rosemary, and a splash of vermouth, you are playing in a completely different league. It turns a simple snack into something that feels warm and deeply aromatic, which is so important for setting a cozy mood.

Pan con Tomate Perfection

This is my absolute go-to when I want something substantial but don’t want to spend the whole night stuck in the kitchen. Pan con Tomate is the epitome of effortless elegance. All you really need is some good bread, ripe tomatoes, garlic, and olive oil. You rub the raw garlic and tomato directly onto the toasted bread, and it creates this incredible, juicy topping that is just pure magic.

Stuffed Dates with Goat Cheese

If you want to add a bit of a decadent vibe to your spread, you cannot go wrong with stuffed dates. I love using a creamy goat cheese to balance out the intense sweetness of the fruit. It’s a tiny, one-bite wonder that feels incredibly indulgent but actually requires almost no cooking at all.

The Secret to Stress-Free Hosting

Don’t get caught in the kitchen all night; choose tapas that can be prepped ahead of time so you’re actually part of the conversation.

It’s not about perfection, it’s about the vibe—dim those lights, put on a good playlist, and let the food be the easy-going centerpiece.

Keep it simple and scalable, because a few really good, shared plates are always better than a mountain of complicated dishes that leave you exhausted.

The Magic of a Shared Plate

“At the end of the day, tapas aren’t just about the food on the plate; they’re about breaking down those invisible walls between guests. When everyone is reaching for the same bowl of olives or passing around a plate of warm croquettes, the conversation just starts to flow naturally.”

Saoirse Mullan

Making It Your Own

At the end of the day, whether you’re serving up crispy patatas bravas, a rich garlic shrimp, or just a simple plate of olives, the goal is the same: getting people to slow down and enjoy the moment. You don’t need to master every single recipe in a Spanish cookbook to host a killer evening. Just pick a few of these bites that feel doable for you, grab your favorite mismatched vintage plates, and get them onto the table. Remember, the best part of a tapas spread is that it’s completely informal; it’s meant to be eaten with your hands, shared between friends, and enjoyed without any of that stiff, formal dining pressure.

I truly believe that the most beautiful parties aren’t the ones that look like a magazine spread, but the ones where everyone feels comfortable enough to linger over their last bite. Don’t stress if the garlic gets a little heavy or if you run out of napkins—that’s just part of the magic. Focus on the warmth of the room and the laughter of your guests, and I promise the food will be remembered as the perfect backdrop to a great night. Now, go dim those lights, pour a little something delicious, and enjoy your beautiful, messy, wonderful gathering.

Frequently Asked Questions

How much food should I actually prep so I'm not stuck in the kitchen all night?

Honestly, this is the question that keeps most hosts up at night! My golden rule? Aim for about 5 to 7 different small bites if you’re doing a full tapas spread. You don’t need a mountain of food; you just need enough that people can graze without feeling like they’re missing out. Prep as much as you can—like chopping veggies or making dips—the day before. That way, you’re actually holding a glass of wine instead of a knife.

Can I make some of these ahead of time, or is everything better served fresh?

Oh, I totally get it—the last thing you want to do is spend your entire party stuck in the kitchen instead of actually enjoying your friends! Honestly, most of these are much better if you prep them ahead of time. Chop your veggies, marinate the meats, or even whip up a sauce a day early. Just save the final assembly or a quick sear for right before people arrive so everything stays fresh and delicious.

What kind of drinks pair best with a spread like this without breaking the bank?

Honestly, don’t stress about a complex cocktail menu. When you’ve got a spread of tapas, I always lean toward something crisp and easy. A chilled, dry Spanish Sherry or even just a big carafe of sangria works wonders—it feels festive but is super budget-friendly. If you’re skipping alcohol, a sparkling elderflower pressé with some fresh mint feels just as special. Keep it simple, keep it cold, and let the food do the heavy lifting!

Delicious party appetizers for a cocktail party.

Easy Appetizer Ideas for Your Next Cocktail Party

I used to think that hosting meant spending my entire Friday night stuck in the kitchen, sweating over tiny, complicated bites while my guests were already halfway through their first drink in the living room. It’s so easy to get caught up in the pressure of making everything look perfect, but honestly? That’s the fastest way to kill the vibe. When it comes to choosing party appetizers, the goal shouldn’t be to impress people with your culinary degree; it should be about creating easy, delicious bites that let you actually sit down and enjoy the company you worked so hard to gather.

In this post, I’m stripping away all the stress and sharing my absolute favorite go-to ideas for your next get-together. I’ve narrowed it down to five simple, crowd-pleasing picks that strike that perfect balance between “effortless chic” and “actually filling.” You’re going to learn how to build a spread that looks beautiful on a thrifted platter but requires minimal prep time, so you can spend less time hovering over the oven and more time making real memories with your favorite people.

Table of Contents

The "No-Stress" Grazing Board

The "No-Stress" Grazing Board on coffee table.

Honestly, if you ask me, nothing beats a big, messy cheese and charcuterie board spread across your coffee table. You don’t need those perfectly manicured, expensive catering trays; just grab a few different cheeses, some salty crackers, and whatever fruit you have sitting in the fridge. I love using my vintage glassware or mismatched wooden boards to give it that lived-in, cozy feel that makes people feel like they can actually relax and dig in.

Skewers for Easy Mingling

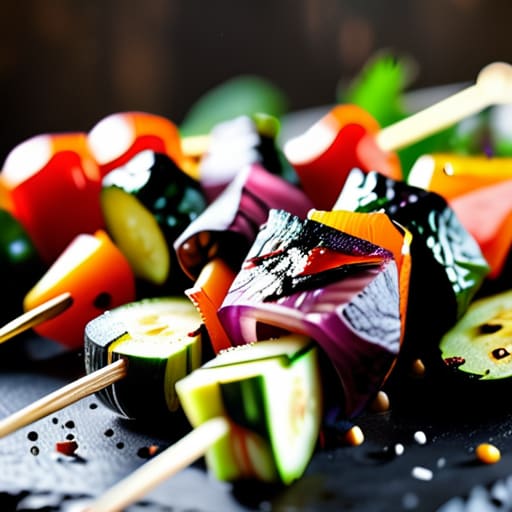
Skewers for Easy Mingling at parties.

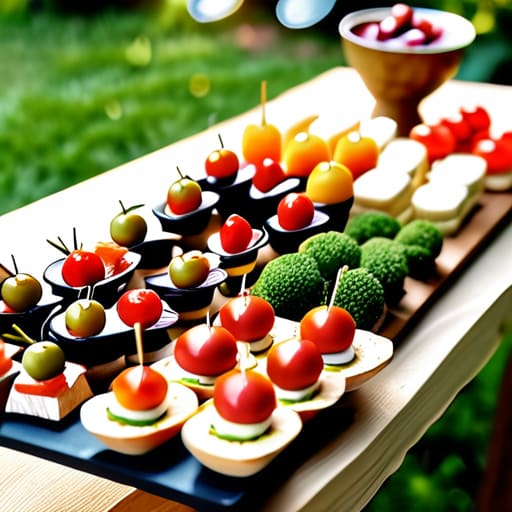
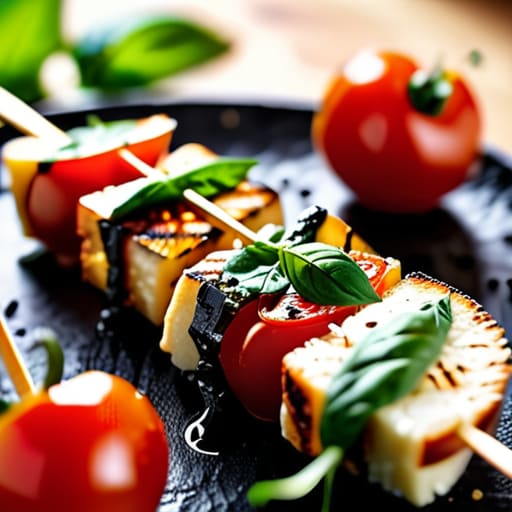
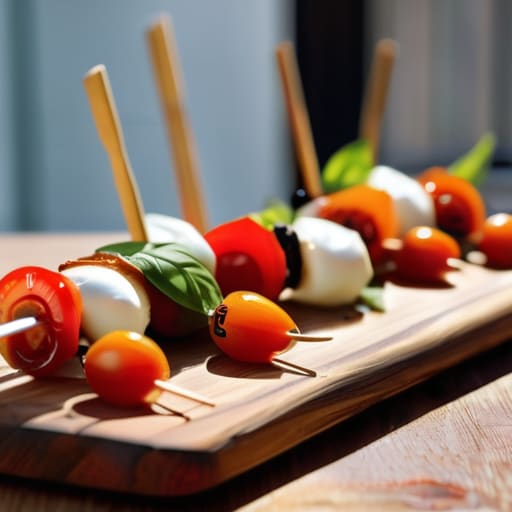
One of my biggest pet peeves is when a guest is trying to hold a drink, a napkin, and a tiny, crumbly appetizer all at once. It’s just not practical! That’s why I’m such a huge fan of anything on a stick. Whether it’s a classic caprese skewer with cherry tomatoes and basil or even just cubes of ham and cheese, skewers are the ultimate hack for keeping hands clean and conversation flowing.

Warm Dips for Soulful Evenings

Warm Dips for Soulful Evenings with candles.

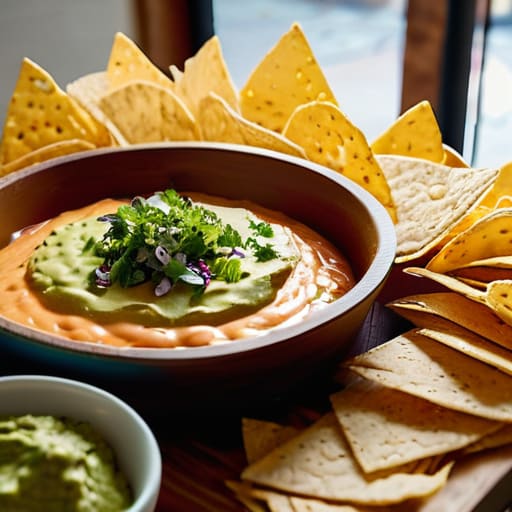
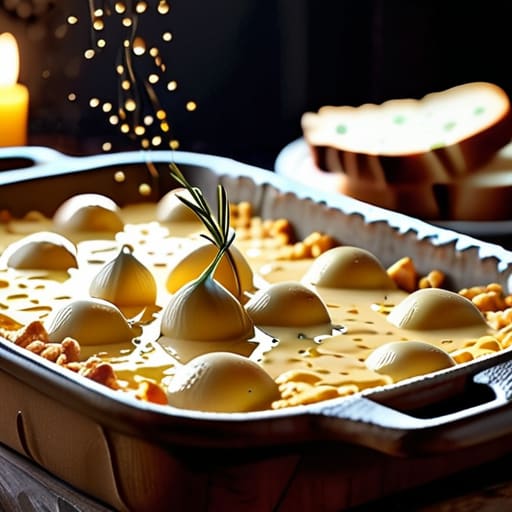
There is something so incredibly comforting about a warm dip hitting the table when the sun starts to go down. I’m talking about a creamy spinach artichoke dip or even a simple warm goat cheese with honey. It makes the whole room feel a bit softer and more inviting, especially if you’ve got some low lighting and a few candles flickering around.

Crostini with a Creative Twist

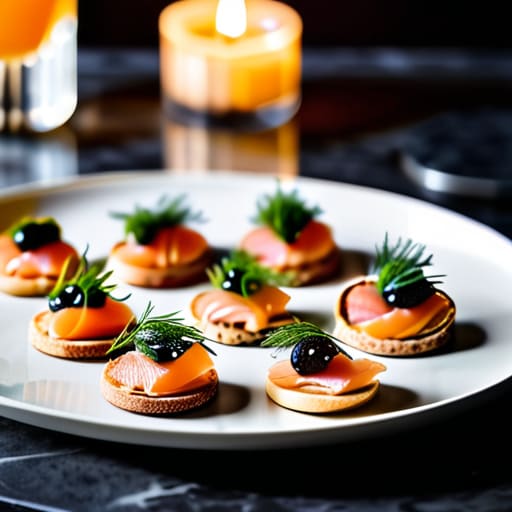
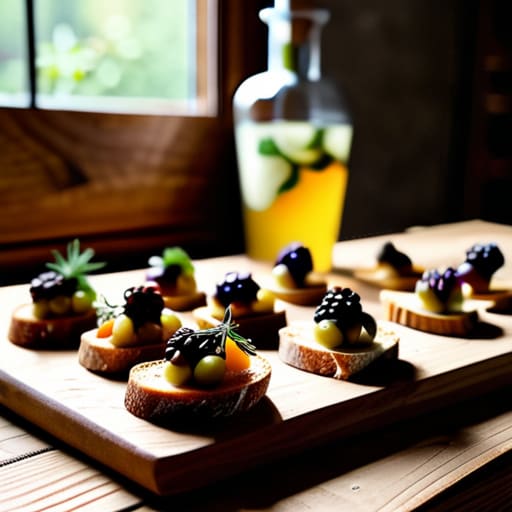
If you want to feel a little bit fancy without the “stiff” atmosphere, crostini are your best friend. They feel a bit more sophisticated than a plain cracker, but they’re still incredibly easy to handle. I love topping toasted baguette slices with something simple like ricotta and lemon zest, or maybe even just a bit of smashed avocado and chili flakes for a little kick.

The "Crowd-Pleaser" Sliders

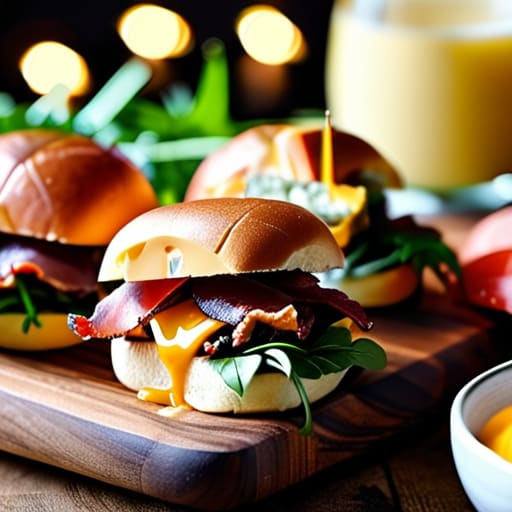
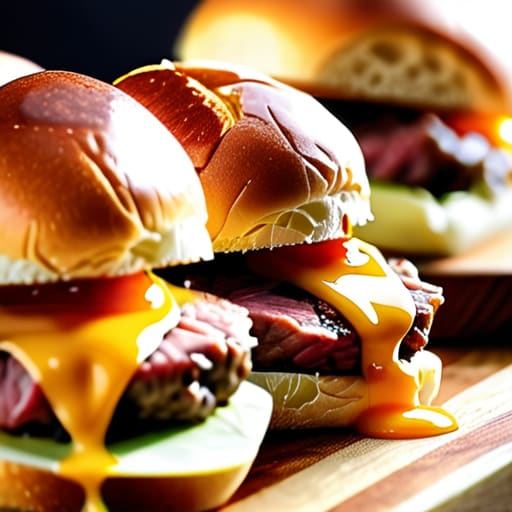
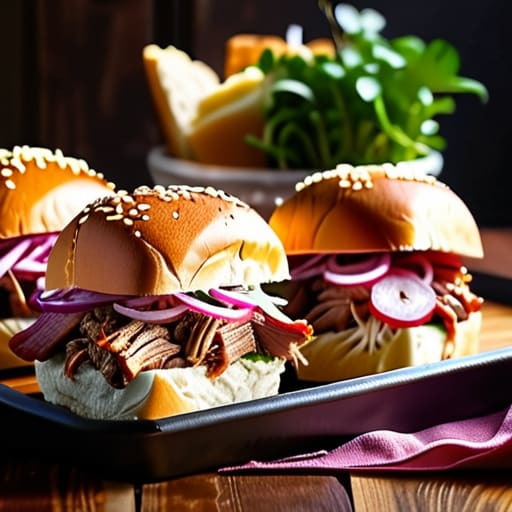
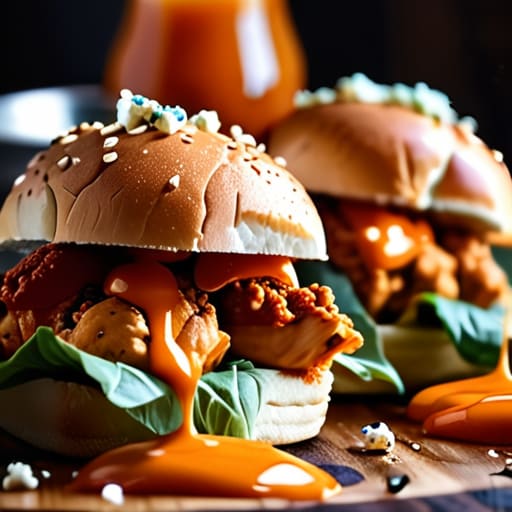
Sometimes, you just need something a little more substantial to keep the energy up, especially if the party is going to stretch into the late hours. Mini sliders are my go-to for this. They’re basically just tiny, handheld versions of comfort food, and they always seem to disappear within minutes of hitting the table. They feel substantial and satisfying without requiring a knife and fork.

Keeping It Simple and Stress-Free

Focus on food that’s easy to grab so your guests can keep their hands free for drinks and actual conversation.

Don’t feel pressured to go overboard with fancy platters; a few well-chosen, delicious bites are way better than a mountain of mediocre snacks.

Remember that the vibe is more important than the presentation—aim for cozy and welcoming rather than perfect and stiff.

My Golden Rule for Hosting

“At the end of the day, I want my guests to remember the laughter and the way the room felt, not how much effort I spent on a tiny, complicated bite that’s impossible to eat while holding a glass of wine. Keep your appetizers simple, keep them tasty, and most importantly, keep them easy enough that you actually get to sit down and join the conversation.”

Saoirse Mullan

Final Thoughts for Your Next Get-Together

At the end of the day, whether you’re serving up those crispy crostini, a simple cheese board, or some quick skewers, the goal is the same: keep it easy. You don’t need to spend your entire afternoon in the kitchen or slave over a hot stove while your friends are having all the fun in the living room. Focus on those handheld, low-stress bites that allow people to graze without needing a formal table setting or a heavy set of silverware. Remember, the best appetizers are the ones that disappear quickly because they’re actually delicious, not the ones that look like they belong in a museum.

If you find yourself stressing about whether the spread is “perfect” enough, just take a deep breath and reach for that roll of double-sided tape in your purse—you’ve got this! Most of the time, your guests won’t even notice if the garnish isn’t perfectly placed; they’ll be too busy enjoying the warmth of your home and the company of good people. Host with a relaxed heart and let the food be the backdrop to the laughter, not the main event. You’re creating a space for connection, and that is always the most beautiful thing you can serve.

Frequently Asked Questions

How much food should I actually prepare so I don't end up with a mountain of leftovers or, even worse, hungry guests?

Honestly, the “fear of running out” is what keeps most hosts up at night, but I promise you don’t need to overdo it. A good rule of thumb is to plan for about 5–7 pieces per person if you’re doing just snacks, or closer to 12 if it’s a full meal. I always aim for a little extra, but I’d rather have a few leftover cheese cubes than a kitchen full of wasted expensive trays!

Is it better to serve everything at once, or should I stagger the snacks throughout the night to keep the flow going?

Honestly, I’m a huge advocate for staggering them. If you put everything out at once, people tend to graze heavily early on and then hit a wall. I like to start with something light—maybe some olives or nuts—while everyone is still arriving and catching up. Then, about an hour in, bring out the “main event” snacks. It keeps the energy up and gives people a little something to look forward to!

How do I handle dietary restrictions like gluten-free or vegan guests without making it feel like a whole separate production?

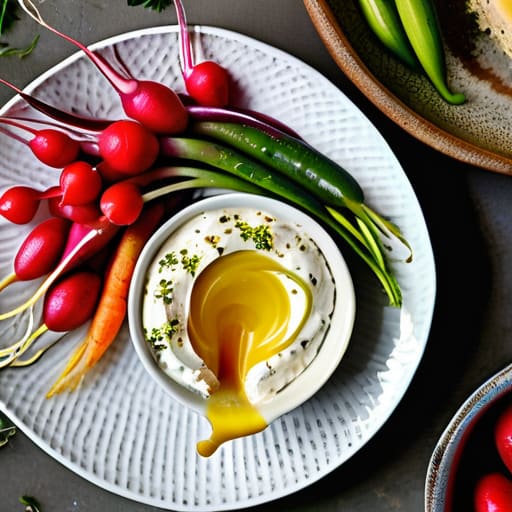
Honestly, the best way to handle this is to make the “restricted” food the star of the show. Instead of a special plate in the corner, just lean into naturally gluten-free or vegan options for everyone. Think a big, colorful mezze platter or roasted veggie skewers. If the food is delicious and everyone is eating the same thing, nobody feels singled out, and you aren’t stuck running two separate kitchens!