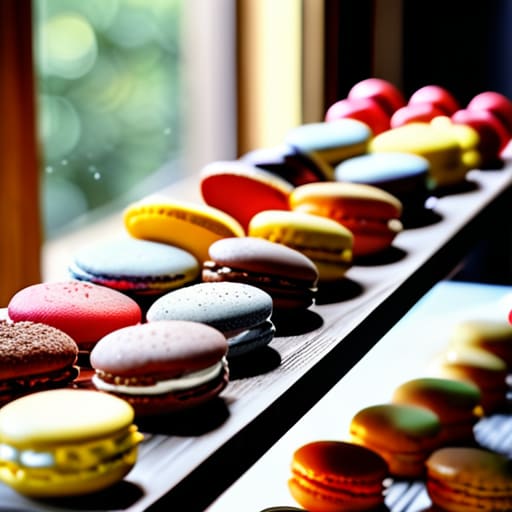
I still remember one of my first big catering gigs back in my twenties, standing in a massive hotel kitchen staring at a towering, three-tiered sugar sculpture that cost more than my monthly rent. It looked incredible in photos, but honestly? It was a total nightmare. Nobody actually wanted to eat it, and guests felt too intimidated to even grab a napkin, let alone a piece of cake. I realized then that a fancy dessert buffet shouldn’t be a museum exhibit designed to make you feel inadequate; it should be a delicious, approachable spread that invites people to linger and grab a second helping while they’re mid-conversation.
I’m not here to tell you that you need a professional pastry chef or a designer budget to pull this off. Instead, I want to share how you can build a stunning, soulful dessert table using what you already have—maybe even some of that vintage glassware I’m always hunting for at thrift stores. I’ll be sharing my no-nonsense guide to arranging treats that look beautiful but, more importantly, actually taste like home. Let’s focus on making something genuinely yummy that your friends will actually enjoy eating.
Table of Contents
Simple Sweet Treats Presentation for Real Conversations
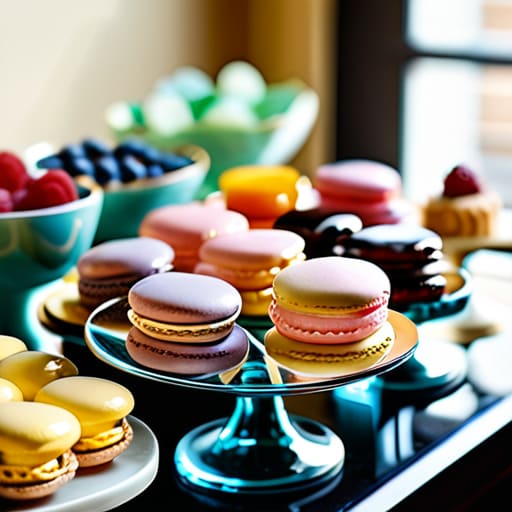
When it comes to your sweet treats presentation, I always tell my clients to ditch the idea that everything needs to be perfectly symmetrical. If you’re staring at a blank table, don’t stress about those Pinterest-perfect wedding dessert station themes that look like they belong in a museum. Instead, think about flow and accessibility. I love using different heights—like stacking a few of my favorite thrifted vintage glass platters—to make sure people can reach everything without a clumsy scramble.
The goal is to keep things bite-sized so nobody is stuck hovering over a plate with a fork while trying to hold a drink. I’m a huge fan of leaning into miniature dessert catering vibes, even if you’re just doing it at home with store-bought brownies or homemade lemon bars. If you keep the portions small, it encourages people to graze throughout the night. This keeps the energy light and ensures the food stays a background element to the actual magic: the long, winding conversations happening around the table.
Smart Dessert Buffet Layout Planning Without the Stress
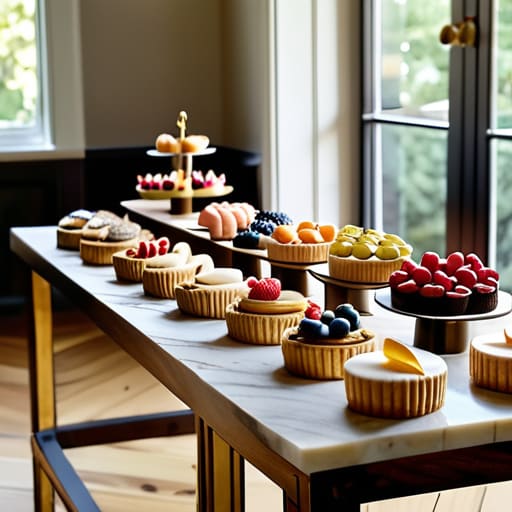
When it comes to dessert buffet layout planning, my biggest piece of advice is to ditch the idea that everything has to be perfectly symmetrical. I used to think a rigid, formal setup looked more “professional,” but honestly? It just creates a bottleneck where people get stuck in a long, awkward line. Instead, try to think about the flow of your room. If you have a small space, tuck the spread against a wall, but if you’re hosting a larger crowd, setting it up on a central island or even a repurposed dining table allows guests to approach from both sides. This keeps the movement fluid so people can grab a treat and get right back to the conversation.
I also love playing with different heights to make the spread look intentional rather than cluttered. You don’t need to buy expensive tiered stands; I often scavenge old wooden crates or even stack a few of my favorite vintage books to create levels. Using these varying heights is one of my favorite dessert table decor ideas because it draws the eye around the whole display. Just make sure you leave enough “breathing room” between the platters so people aren’t bumping elbows while trying to pick out a macaron.
Little Details That Make a Big Difference
- Don’t be afraid to mix and match your glassware. I’m a huge sucker for a thrifted vintage glass dish or two; it adds so much character and makes the spread feel curated rather than something you just grabbed in a bulk pack from a big-box store.
- Keep the serving tools right where they need to be. There is nothing more awkward for a guest than hovering over a plate of brownies trying to find a way to grab one. Place a little tong or a pretty spoon next to every single item so people can just help themselves and get back to the conversation.
- Use height to your advantage, but keep it practical. I love using old books or even small wooden crates under a tablecloth to create different levels. It looks beautiful, but just make sure nothing is so high that people are struggling to reach or accidentally knocking things over.
- Label things simply, especially if there are nuts or gluten involved. You don’t need fancy printed cards; a little handwritten note on a scrap of cardstock works perfectly. It saves your guests from having to ask you every five minutes, “Is this dairy-free?” while you’re trying to enjoy your own party.
- Always have a “buffer” of napkins. I can’t tell you how many times I’ve seen a beautiful dessert table ruined by sticky fingers or crumbs because the napkins were tucked away in the kitchen. Keep a stack of pretty, soft napkins scattered throughout the spread so people can grab one as they go.
My Little Dessert Buffet Cheat Sheet
Keep things easy-access; you want people grabbing a treat without having to navigate a maze of tiny, fragile plates.
Mix and match your finds—don’t be afraid to use those mismatched vintage glass bowls from my thrift hauls to add some soul to the table.
Focus on the flow, not the perfection; a little bit of crumbs and a lot of laughter is way better than a table that’s too pretty to touch.
My Philosophy on Dessert Tables
“At the end of the day, I don’t care if the macarons are perfectly aligned or if the cake is a masterpiece; I just want a spread that looks inviting enough to make people linger a little longer and actually talk to one another.”
Saoirse Mullan
Sweet Success & Good Vibes
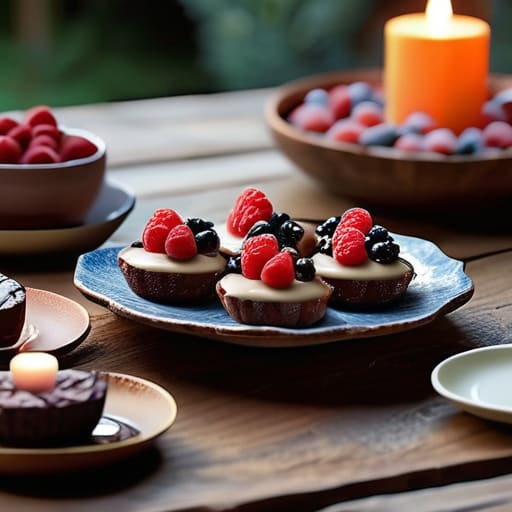
At the end of the day, setting up a dessert buffet doesn’t require a degree in pastry arts or a massive budget. Just remember to keep your layout intuitive so people aren’t bumping elbows, and don’t be afraid to mix those thrifted vintage platters with your everyday dishes. Whether you’re leaning into a themed spread or just laying out a few bowls of brownies and some seasonal fruit, the goal is to keep things accessible and easy. If you focus on a logical flow and a bit of cozy lighting, you’ve already done the hard part. It’s all about creating a little corner of sweetness that invites people to linger just a bit longer.
If you find yourself stressing over whether the cookies look “perfect” or if the labels are straight, please take a deep breath and let it go. I promise you, your friends aren’t there to critique your dessert presentation; they are there to celebrate with you. The most beautiful part of any gathering is the laughter shared over a half-eaten slice of cake and the way the room feels when everyone is finally relaxed. So, grab a plate, find your favorite spot on the sofa, and enjoy the magic you’ve created. You’ve got this!
Frequently Asked Questions
How do I keep things looking pretty without spending a fortune on matching serving platters?
Honestly, please don’t feel like you need a matching set of expensive porcelain to make things look lovely. That’s exactly why I’m so obsessed with thrifting! I love mixing and matching vintage glassware or even using mismatched ceramic plates from a charity shop. The trick is to keep a common thread—maybe they all have a similar color palette or a bit of gold rimming. It feels intentional and soulful, rather than stiff and store-bought.
Is it better to do one big dessert spread or a few smaller stations around the room?
Honestly, it depends on your space, but I’m usually a fan of a few smaller stations. If you have a smaller crowd, one big, beautiful spread is lovely for a focal point. But if the room is a bit tight or you want people moving around, scattering a couple of mini-stations—maybe one near the coffee and another by the lounge—keeps the flow natural. It prevents that awkward bottleneck and lets the conversation keep drifting.
What's the best way to handle desserts that need to stay cold so they don't get messy in a warm living room?
Oh, the dreaded melting chocolate or runaway whipped cream! I’ve been there. My best trick is to use chilled marble slabs or even just heavy stoneware plates that you’ve popped in the fridge beforehand—they hold the cold way longer. If you’re serving something really delicate, like mini cheesecakes, keep them on a tray nestled into a larger platter filled with crushed ice. It looks intentional and boho, and it keeps everything looking lovely.
