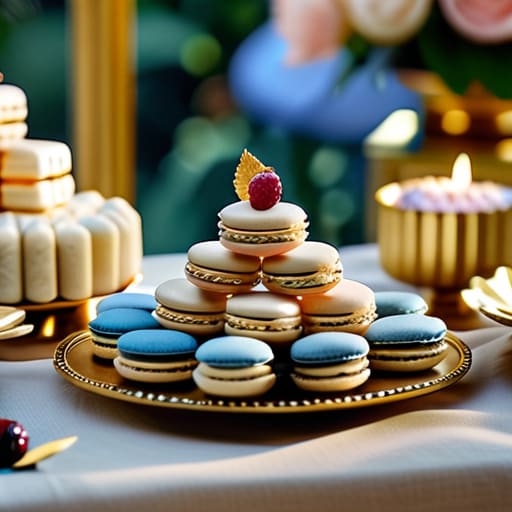
I remember standing in a massive catering kitchen years ago, watching a designer spend three hours meticulously arranging tiny, gold-leafed macarons on a tiered stand that cost more than my first car. It looked stunning for the photos, sure, but as soon as the guests arrived, everyone was too intimidated to actually touch anything. We’ve been sold this idea that a dessert table has to be this untouchable, museum-quality installation to be considered successful, but honestly? That’s just a recipe for a stiff party. When you’re too worried about a stray crumb ruining the aesthetic, you aren’t actually hosting—you’re just guarding a display.
I’m not here to tell you how to buy expensive props or spend your entire weekend obsessing over symmetry. Instead, I want to show you how to build a dessert table that feels warm, inviting, and—most importantly—easy to manage. I’ll be sharing my favorite tricks for using thrifted glassware to create depth and how to pick treats that people will actually want to eat while they’re busy catching up. Let’s focus on making something beautiful that lets you actually sit down and enjoy the party, too.
Table of Contents
Smart Sweet Table Decor for Cozy Gatherings
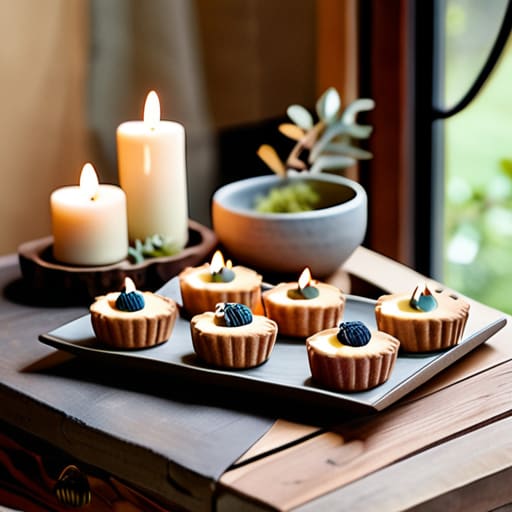
When it comes to decorating, I’m a huge advocate for the “collected, not curated” look. Instead of buying a matching set of expensive serving trays, head to your local thrift store and look for mismatched vintage platters or even old wooden cutting boards. Mixing textures makes the spread feel much more inviting and less like a showroom display. I love using small clusters of unscented tea lights or even just a few scattered sprigs of dried eucalyptus to add some life to the space. This kind of sweet table decor keeps things feeling organic and relaxed, which is exactly the vibe we’re going for.
If you want to add a bit more structure without going overboard, try playing with height. Grab a few sturdy books from your shelf and tuck them under a linen tablecloth to create little platforms for your treats. This simple trick is one of my favorite event dessert presentation hacks because it adds visual interest without costing a dime. You can also use small glass jars or even pretty bowls to group things together, making it easy for guests to grab a bite while they’re busy chatting.
Simple Party Dessert Platter Arrangement Tips
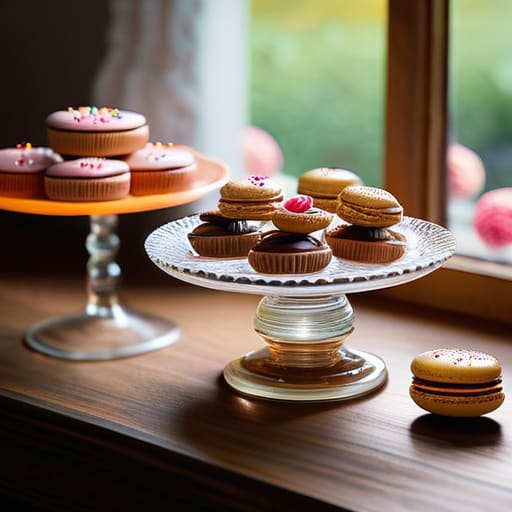
When it comes to a party dessert platter arrangement, I always tell my clients to stop worrying about perfect symmetry. If you try to make every cookie look like it was placed by a robot, you’ll spend the whole night stressing instead of actually enjoying your guests. Instead, think about levels. Grab a few of those vintage glass bowls from my latest thrift haul and use them to create different heights on your tray. Mixing a flat plate of brownies with a taller pedestal for cupcakes adds instant visual interest without requiring a massive budget.
I also love playing with textures to make the spread feel more abundant. If you’re doing something like miniature dessert catering—think tiny lemon tarts or bite-sized brownies—cluster them in small groups rather than spreading them out thin. It makes the platter look lush and inviting. Don’t be afraid to tuck in a few sprigs of fresh mint or even some scattered berries to fill those awkward little gaps. It’s those tiny, organic touches that make the whole setup feel effortlessly beautiful rather than stiff and staged.
Five Little Tricks for a Stress-Free Sweet Spread
- Don’t be afraid to mix and match your glassware. I actually love using my mismatched vintage finds from thrift stores to add some personality—it makes the whole table feel more lived-in and less like a showroom display.
- Use height to your advantage, but keep it simple. Grab a few sturdy books or even a couple of upturned wooden crates from your garage to prop up some plates. It adds visual interest without costing you a dime.
- Keep the “fussy” stuff to a minimum. If a cupcake is so decorated that people are scared to touch it, it’s not doing its job. Aim for treats that are easy to grab so guests can keep the conversation flowing.
- Always keep a little “emergency kit” nearby. I never host without my trusty roll of double-sided tape in my pocket—it’s a lifesaver for when a paper liner starts slipping or a tiny sign won’t stay upright.
- Lighting is everything for the vibe. Instead of harsh overhead lights, scatter a few unscented tea lights or some warm fairy lights around the treats. It makes everything look a bit more magical and a lot more inviting.
The Sweet Stuff to Remember
Don’t get caught in a perfectionist spiral—the best dessert tables look lived-in, not like a museum exhibit.
Use what you have, whether it’s those mismatched vintage plates from my latest thrift haul or just some simple wooden boards to add height.
Always prioritize easy-to-grab bites so your guests can keep their hands free for a drink and a real conversation.
My Golden Rule for Sweets
“At the end of the day, your dessert table shouldn’t feel like a museum exhibit where people are afraid to touch anything; it should feel like an invitation to grab a plate, linger a little longer, and actually enjoy the company.”
Saoirse Mullan
The Sweetest Part of the Night
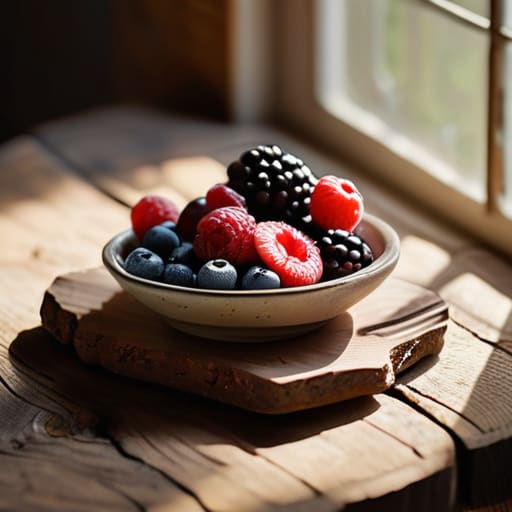
At the end of the day, setting up a dessert table doesn’t have to be this massive, stressful production. We’ve talked about using those smart decor tricks to keep things cozy and how to arrange your platters so they actually look inviting rather than cluttered. Remember, you don’t need a perfectly symmetrical spread or a mountain of expensive macarons to make an impact. Whether you’re using some of that vintage glassware you found at a thrift shop or just layering some simple wooden boards, the goal is to create a little nook of sweetness that feels approachable. Just keep it simple, keep it organized, and don’t overthink the perfection.
Once the plates are filled and the candles are lit, my biggest piece of advice is to step away from the table and join the fun. Your guests aren’t going to remember if the brownies were perfectly aligned, but they will definitely remember how much fun they had catching up with you in such a warm, welcoming space. A dessert table is really just an excuse to linger a little longer over a good conversation and a shared treat. So, grab a plate, find a comfortable spot, and just enjoy the moment with your favorite people. That’s where the real magic happens.
Frequently Asked Questions
How do I make a dessert table look "styled" if I'm working with a really small kitchen or a tiny coffee table?
Honestly, small spaces are actually my favorite because they force you to be intentional. If you’re stuck with a tiny coffee table, ditch the wide platters and go vertical. I love using a couple of my thrifted vintage cake stands to create different heights—it makes a small spread look way more “designed” without taking up extra room. Keep the clutter low, focus on one or two pretty serving pieces, and let the treats do the talking.
Is it better to go with one big showstopper cake or a bunch of smaller, bite-sized treats?
Honestly, it’s a toss-up depending on the vibe you’re going for! If you want that “wow” moment where everyone gathers around for a toast, go for the big showstopper cake. But, if you’re more about keeping things casual and want people mingling instead of waiting in line for a slice, a spread of bite-sized treats is your best friend. Personally? I love a mix—a small cake for the photos and plenty of minis for grazing.
What can I use as decor if I don't want to spend a fortune on extra platters and stands?
Honestly, please don’t go running to a party supply store just for some fancy pedestals! I actually have a drawer full of “decor” that’s just stuff from my kitchen. Grab some vintage wooden cutting boards for height, or even use a couple of sturdy, pretty hardcover books to prop up a smaller plate. I love using mismatched bowls I found at thrift stores, too. It adds so much character without costing a dime.
